En
En German
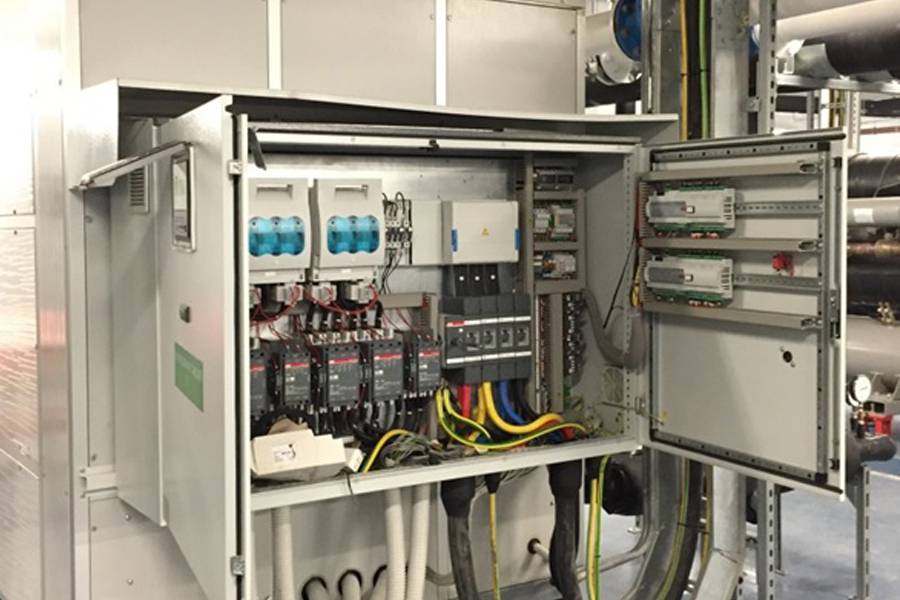
In our last blog post How to build an ice rink we promised that our future article will describe in a few words the ice rink construction phases, so we will begin the new year with this subject.
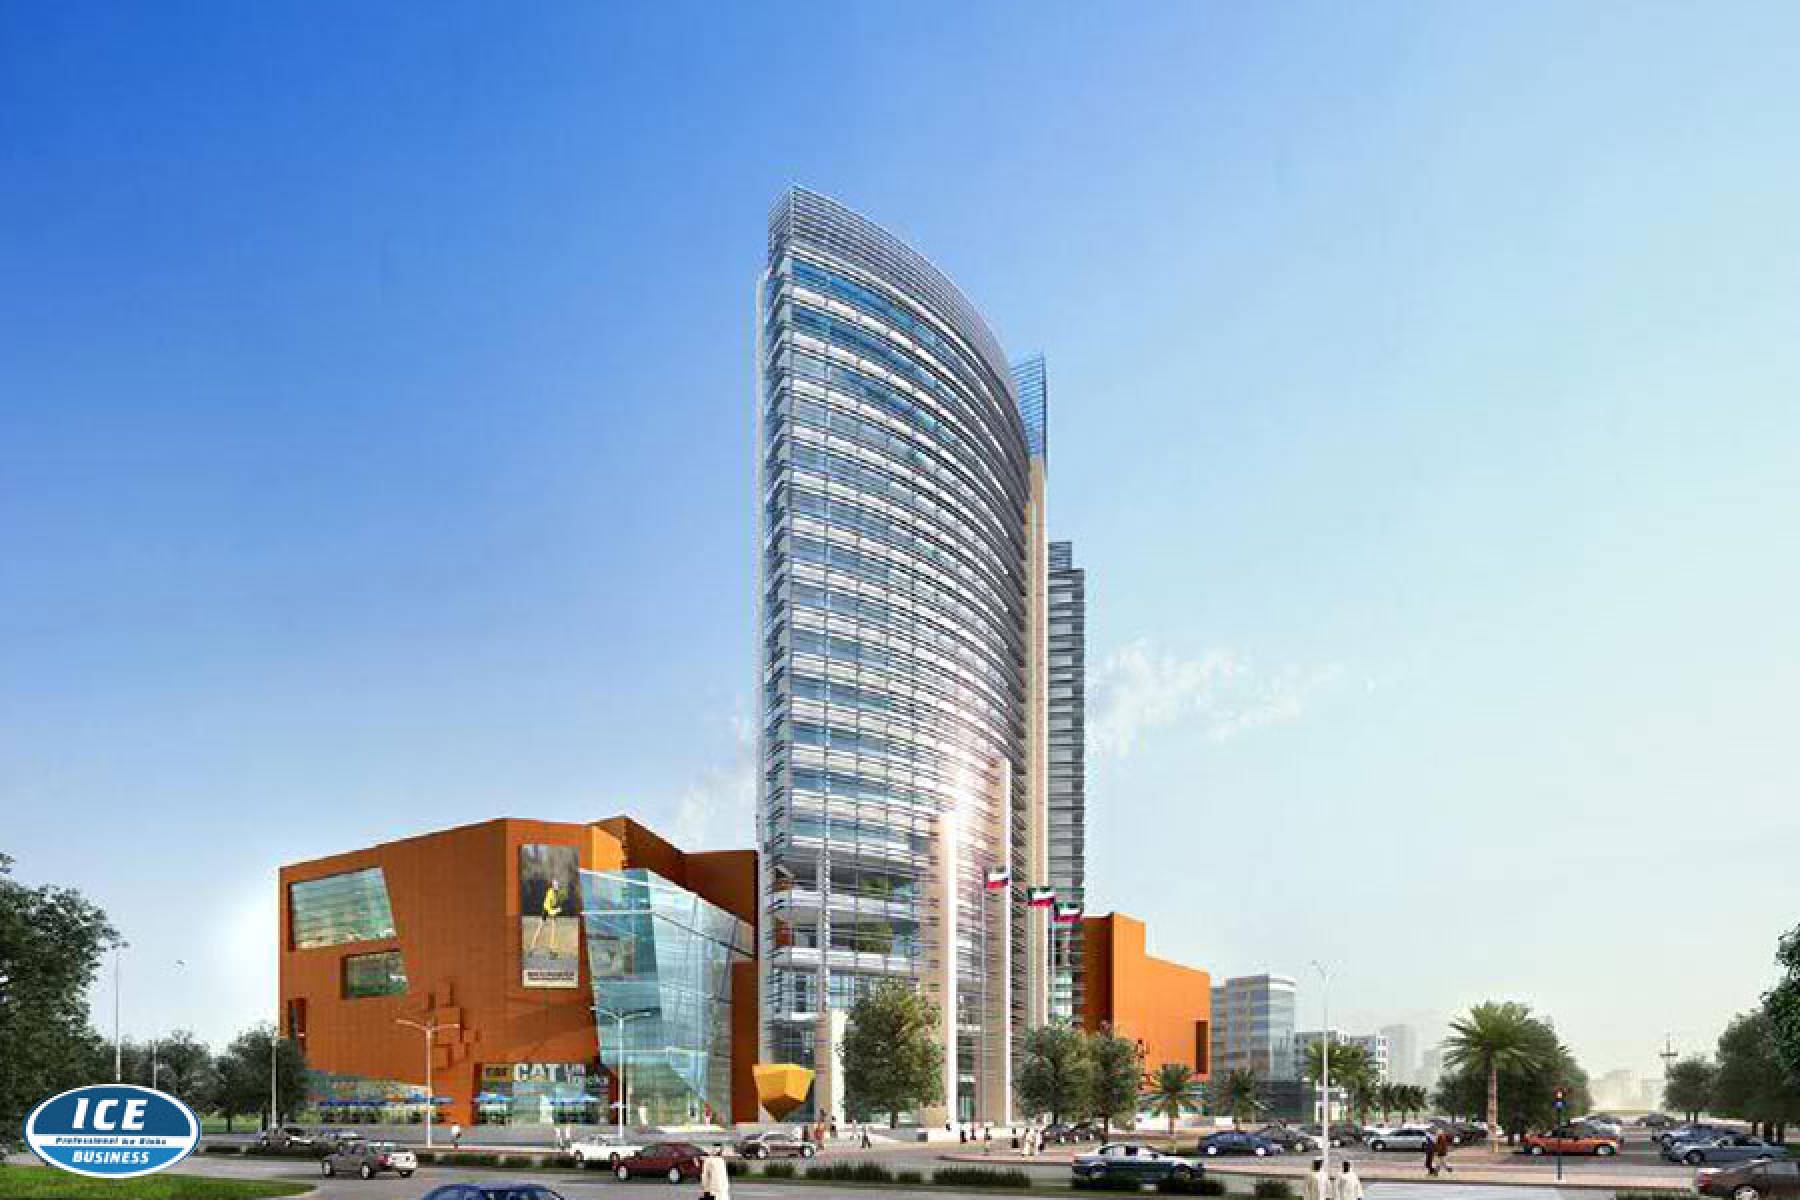
The first important mention would be that in this following article we will refer only to the permanent ice rinks (the ones that run all year round in shopping malls or ice arenas) and the second mention is that every construction site can vary and can also influence the steps of the process. This is where companies like ours offer consulting and design services before the construction in order for our customer to achieve a perfect ice in ideal conditions. The below description applies to the ice rinks that follow a standard ice rink construction process (depending on size, conditions, etc.)
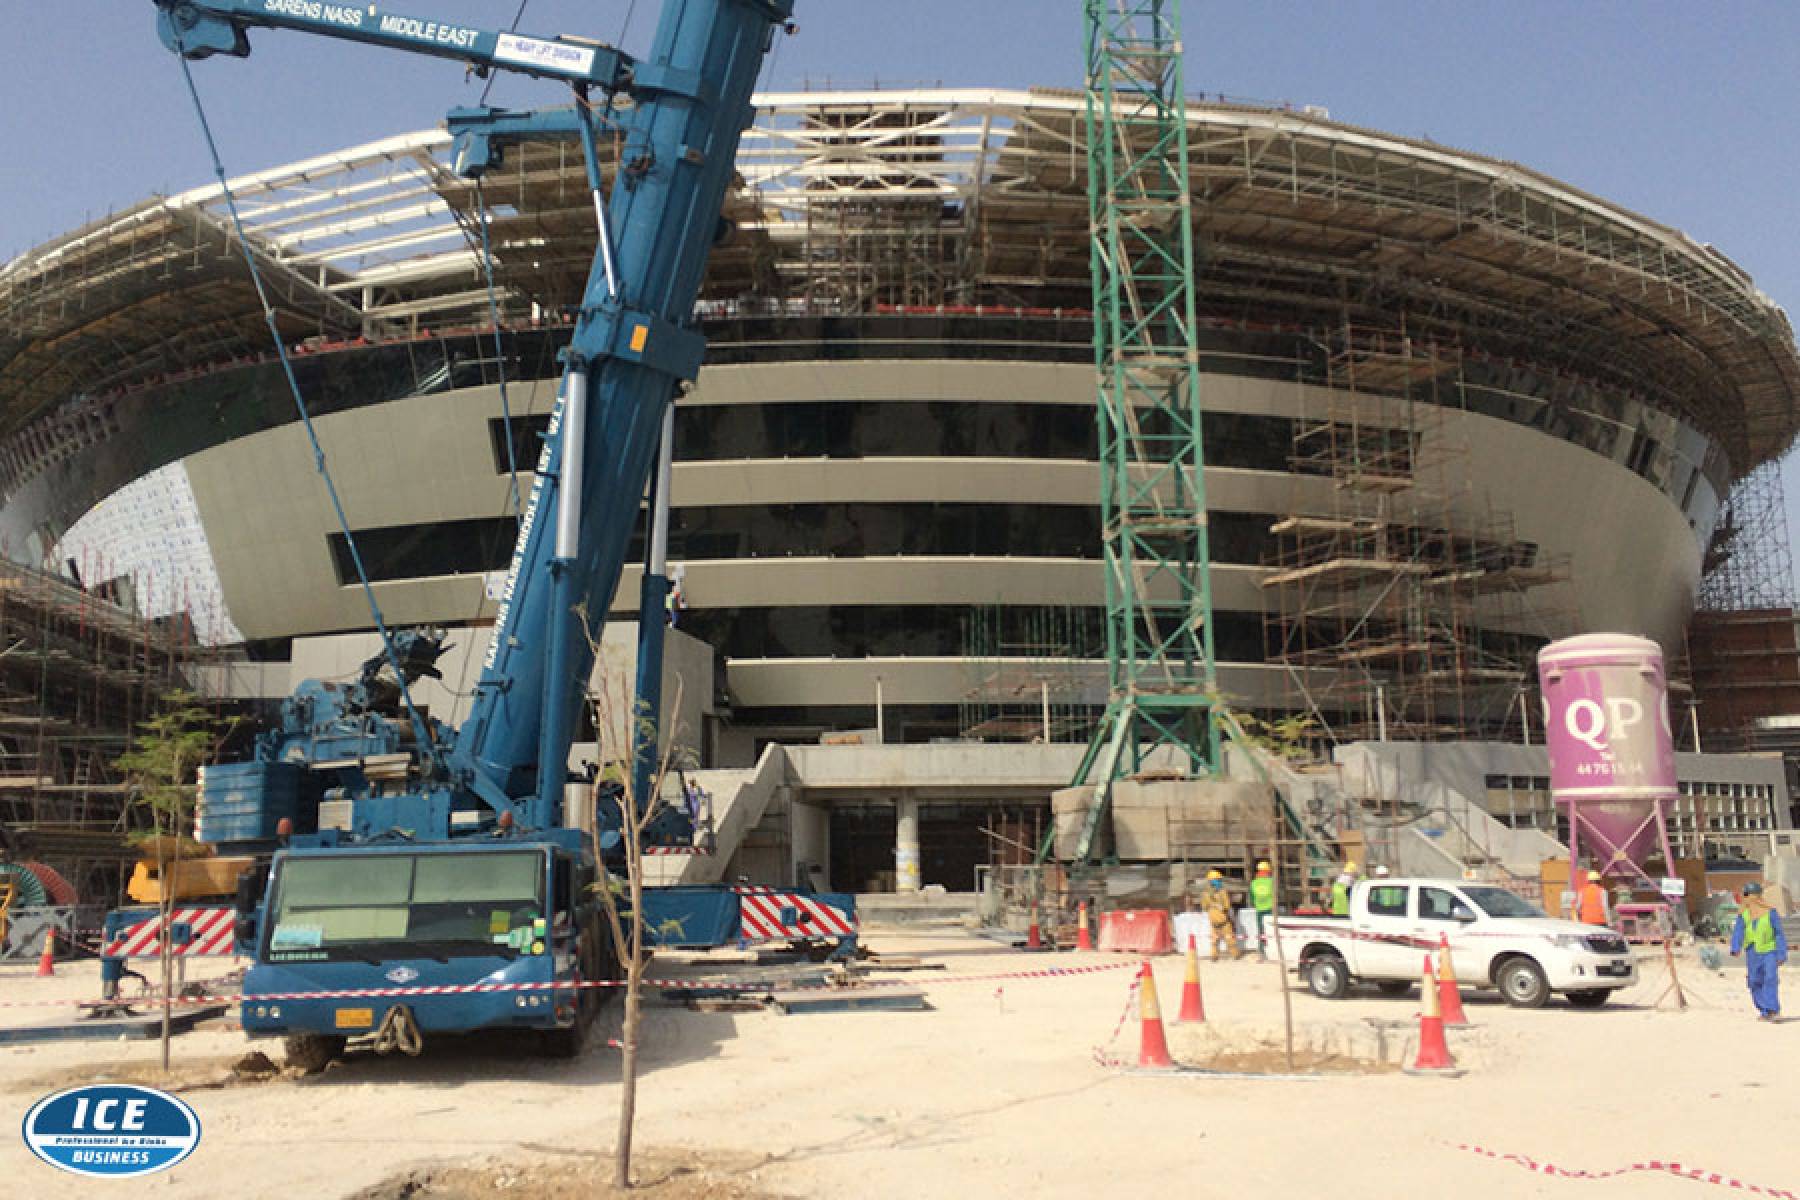
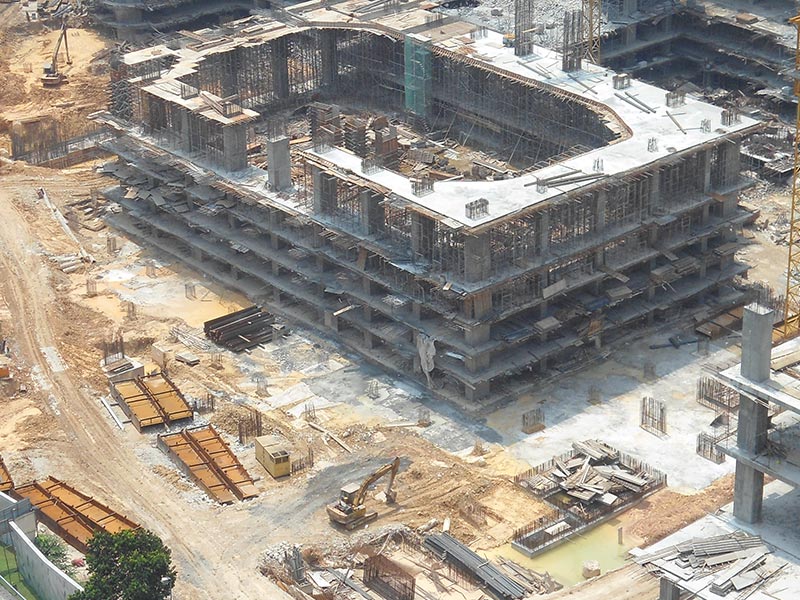
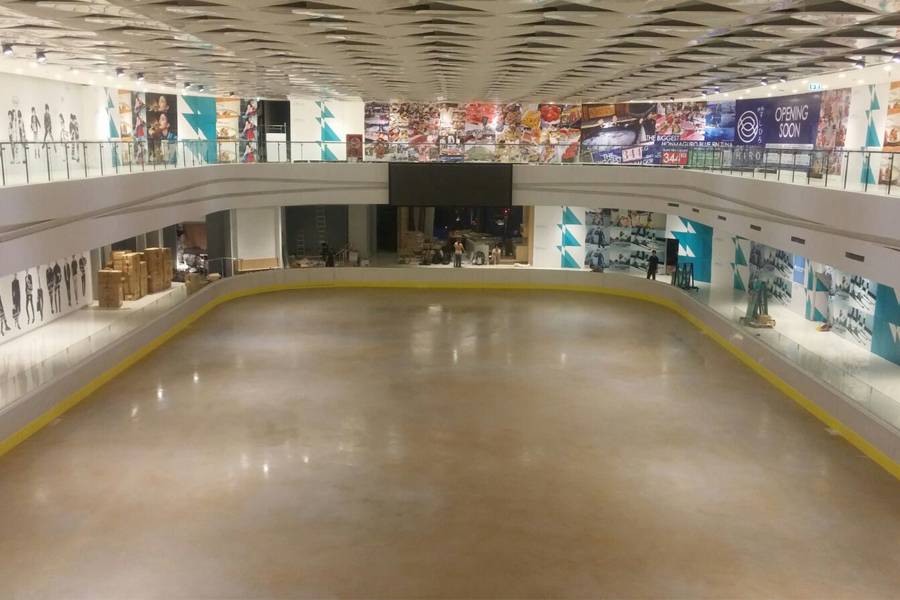
Preparation of the ice rink construction indoor area
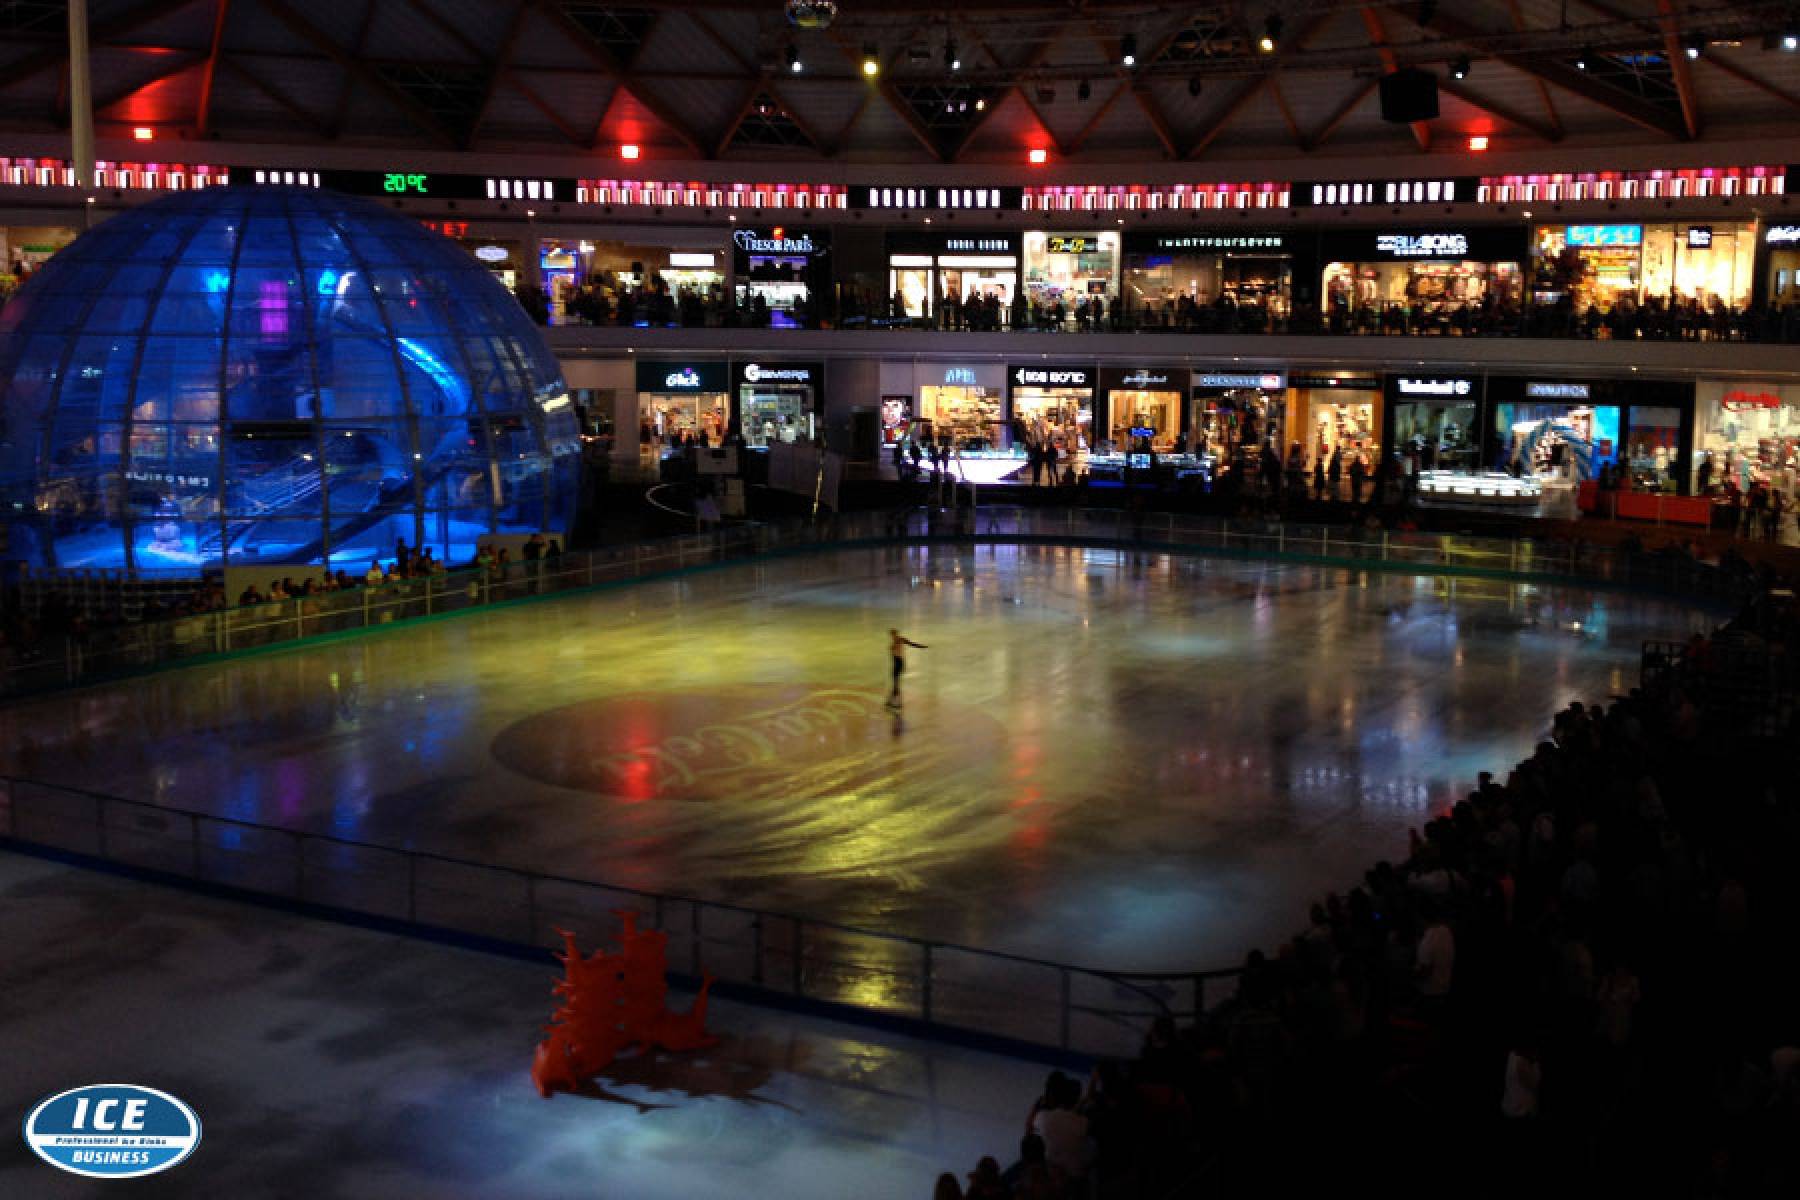
There is something that has to be done prior the ice rink installation: the preparation of the indoor area. This is maybe as important if not more important than the other phases, because without the ideal conditions inside the building, the ice surface will not have the required characteristics for ice skating. In order for the ice to reach its highes quality and to increase the energy efficiency, the following basic technical elements have to be taken into consideration:
- Insulated walls and ceiling - this makes possible to control the desired indoor temperatures regardless of the outside ones
- Efficient refrigeration plant - in order to make and maintain ice on the ice rink
- Mechanical ventilation - to control the air quality and humidity conditions (for a good ice a temperature of max. 21 °C is needed and the humidity should not be more than 60%)
- Efficient heating system - for energy saving purpose
- Air dehumidification - needed also in order to decrease the humidity inside the ice rink area
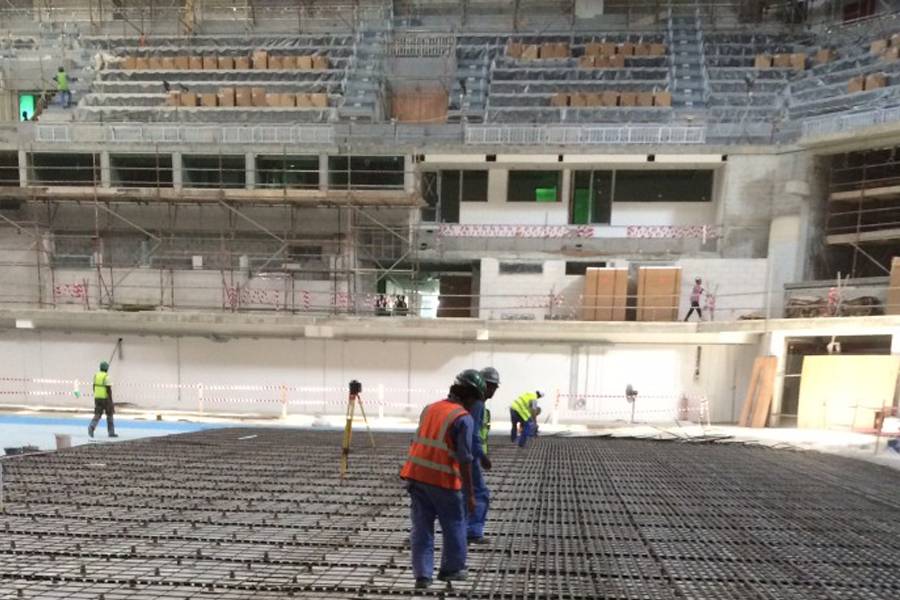
The ice rink construction process goes forward with the placement of the chiller (which should not be installed further than 20 m from the ice rink itself).
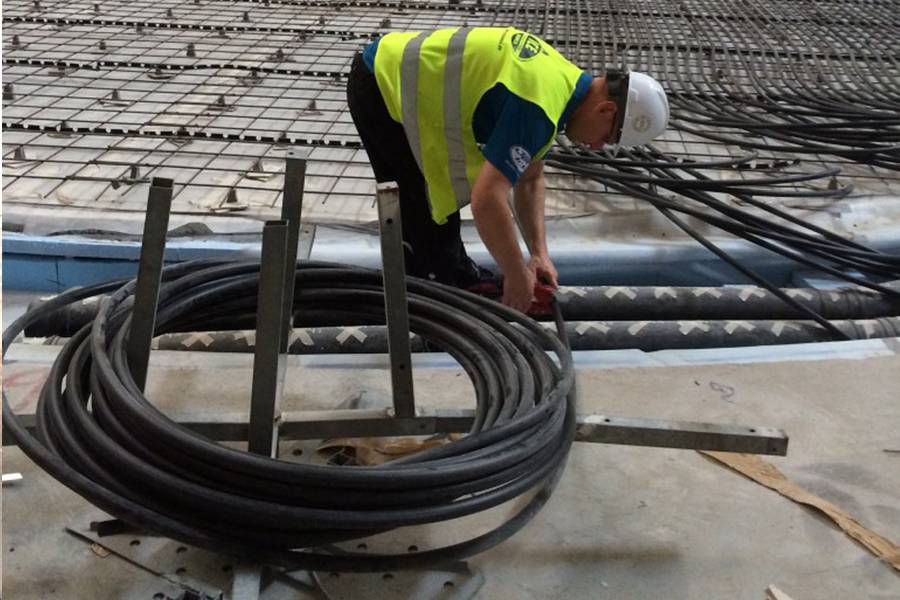
The chiller is responsible with the cooling process of the glycol, solution that is used due to its antifreeze properties (in pure form the glycol freezes at - 12 °C). The pipes are then installed in either concrete or sandbase (depending on the project type) and in the form that the ice rink is planned to take (normally rectangular with rounded corners).
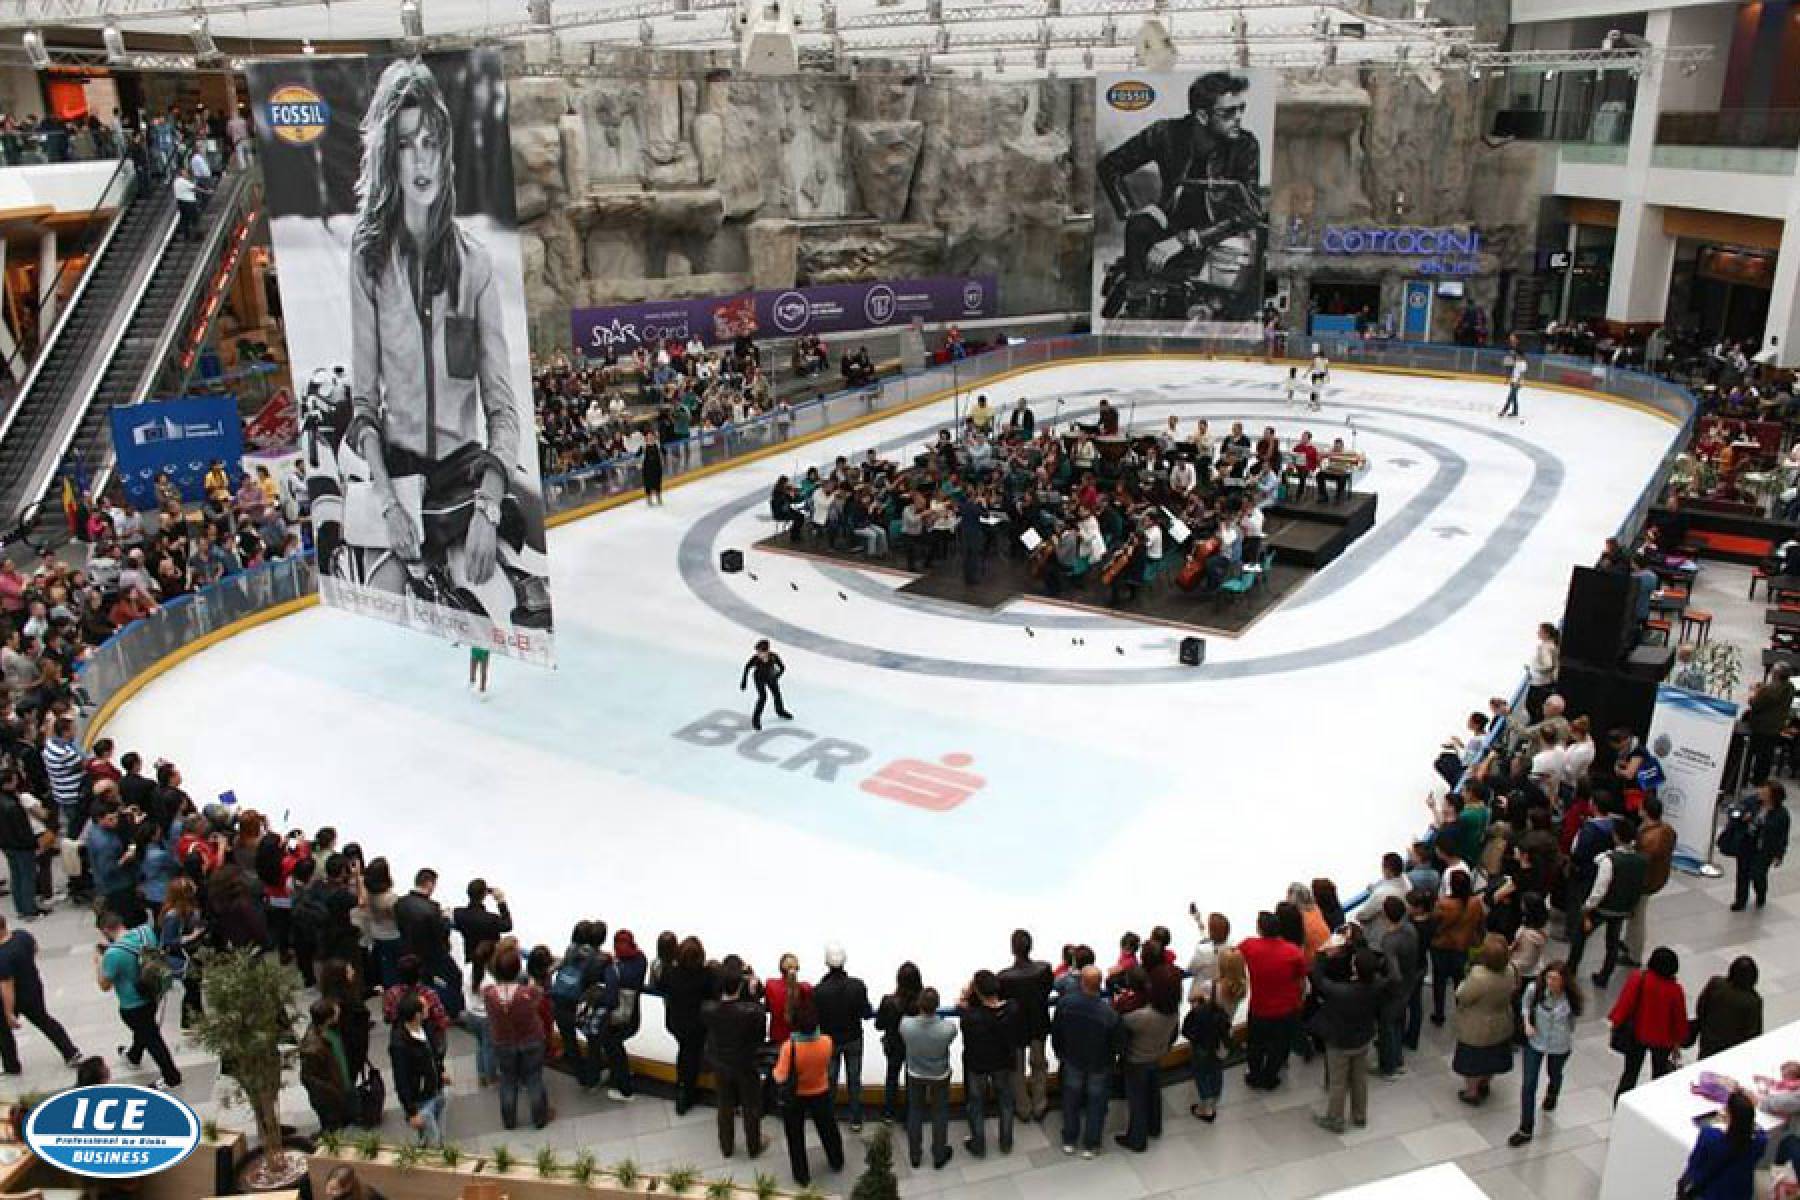
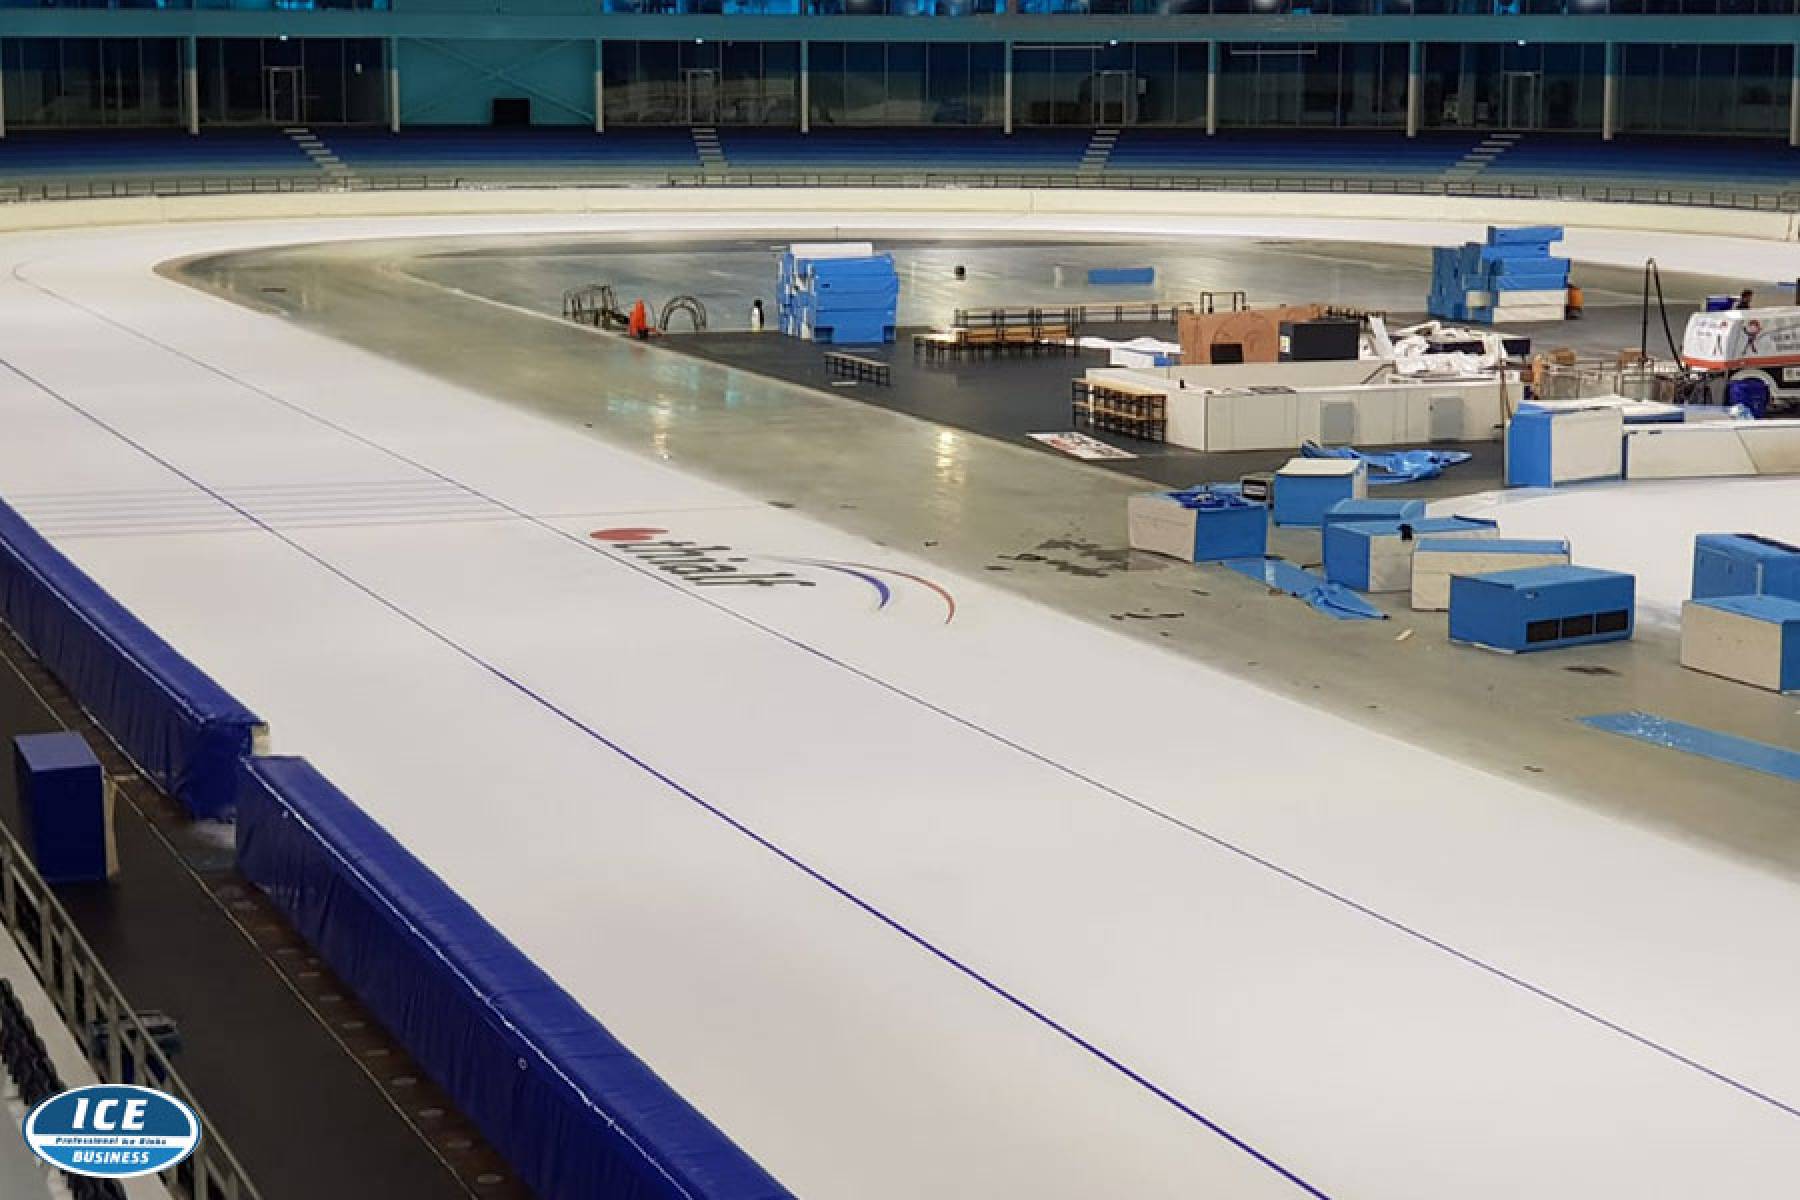
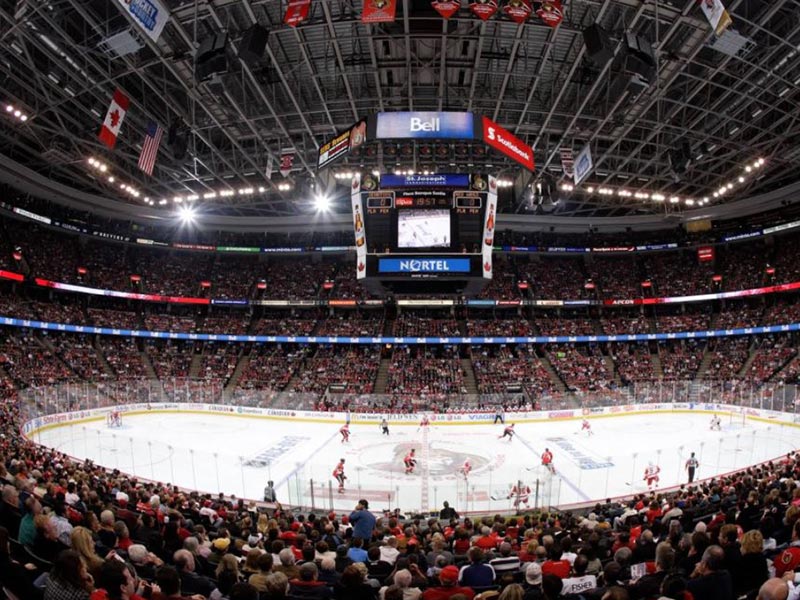
The role of the pipes is to conduct the cooled glycol with the help of the chiller under the ice surface evenly, in order to uniformly freeze the water on top (the final ice surface). After the installation of the pipes (which are connected to the chiller), the dasher board is installed (professional ice hockey dasher boards for ice rinks that will host ice hockey games, and public skating dasher board for ice rinks in shopping malls or leisure parks).
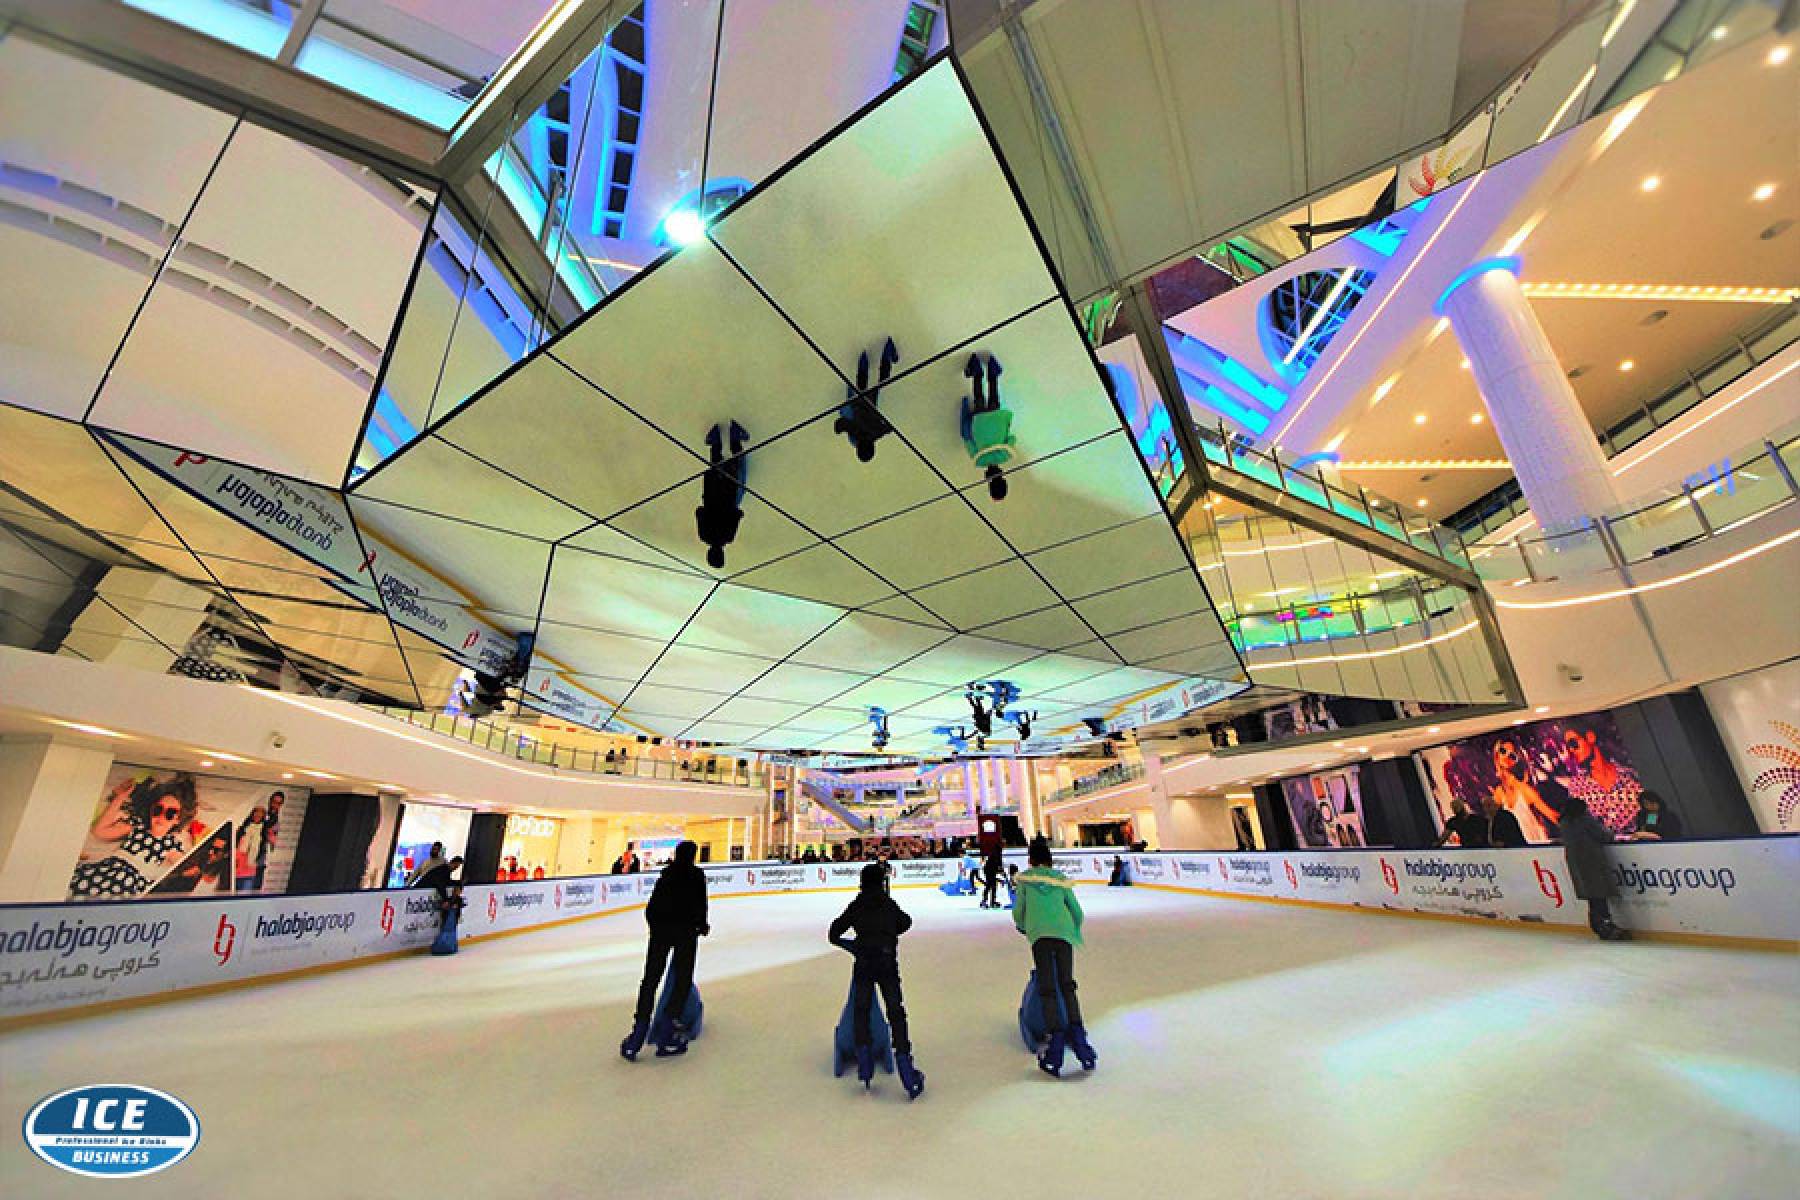
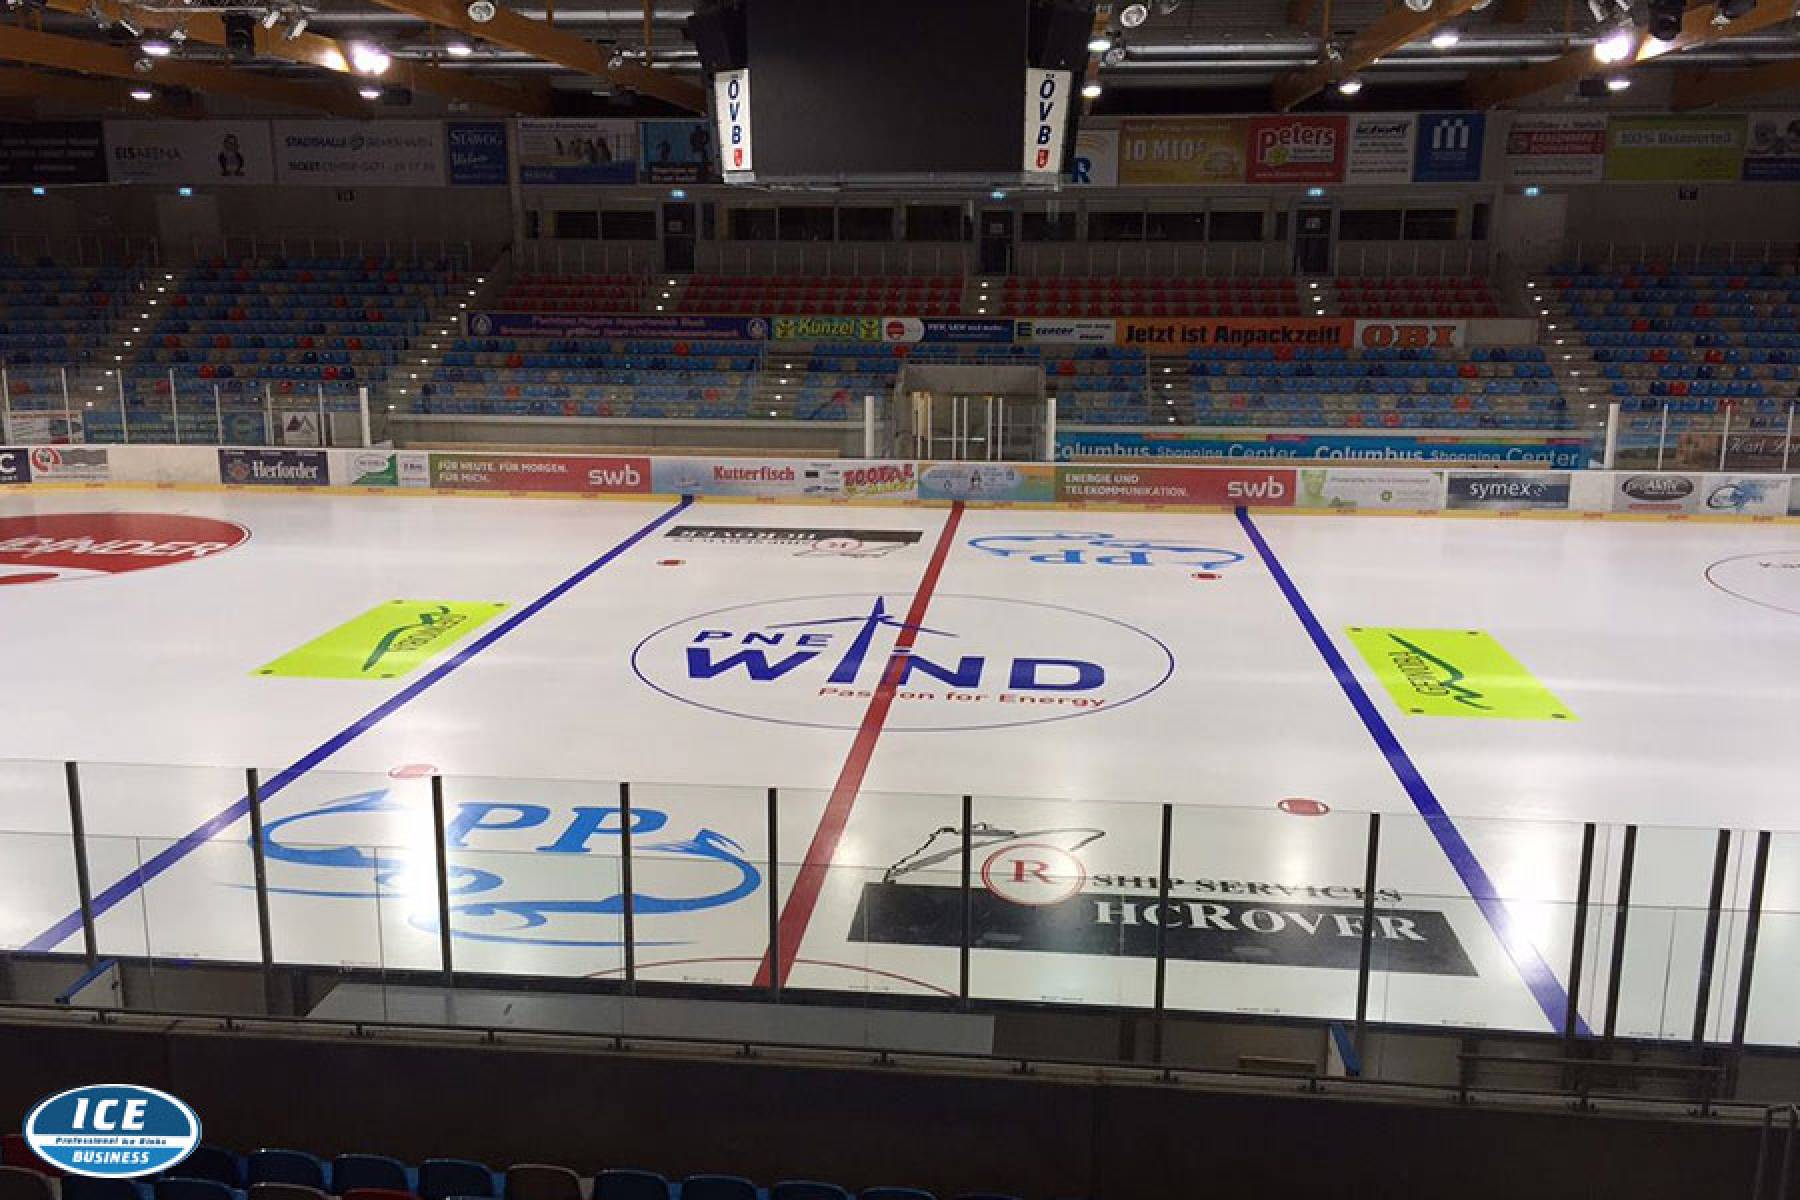
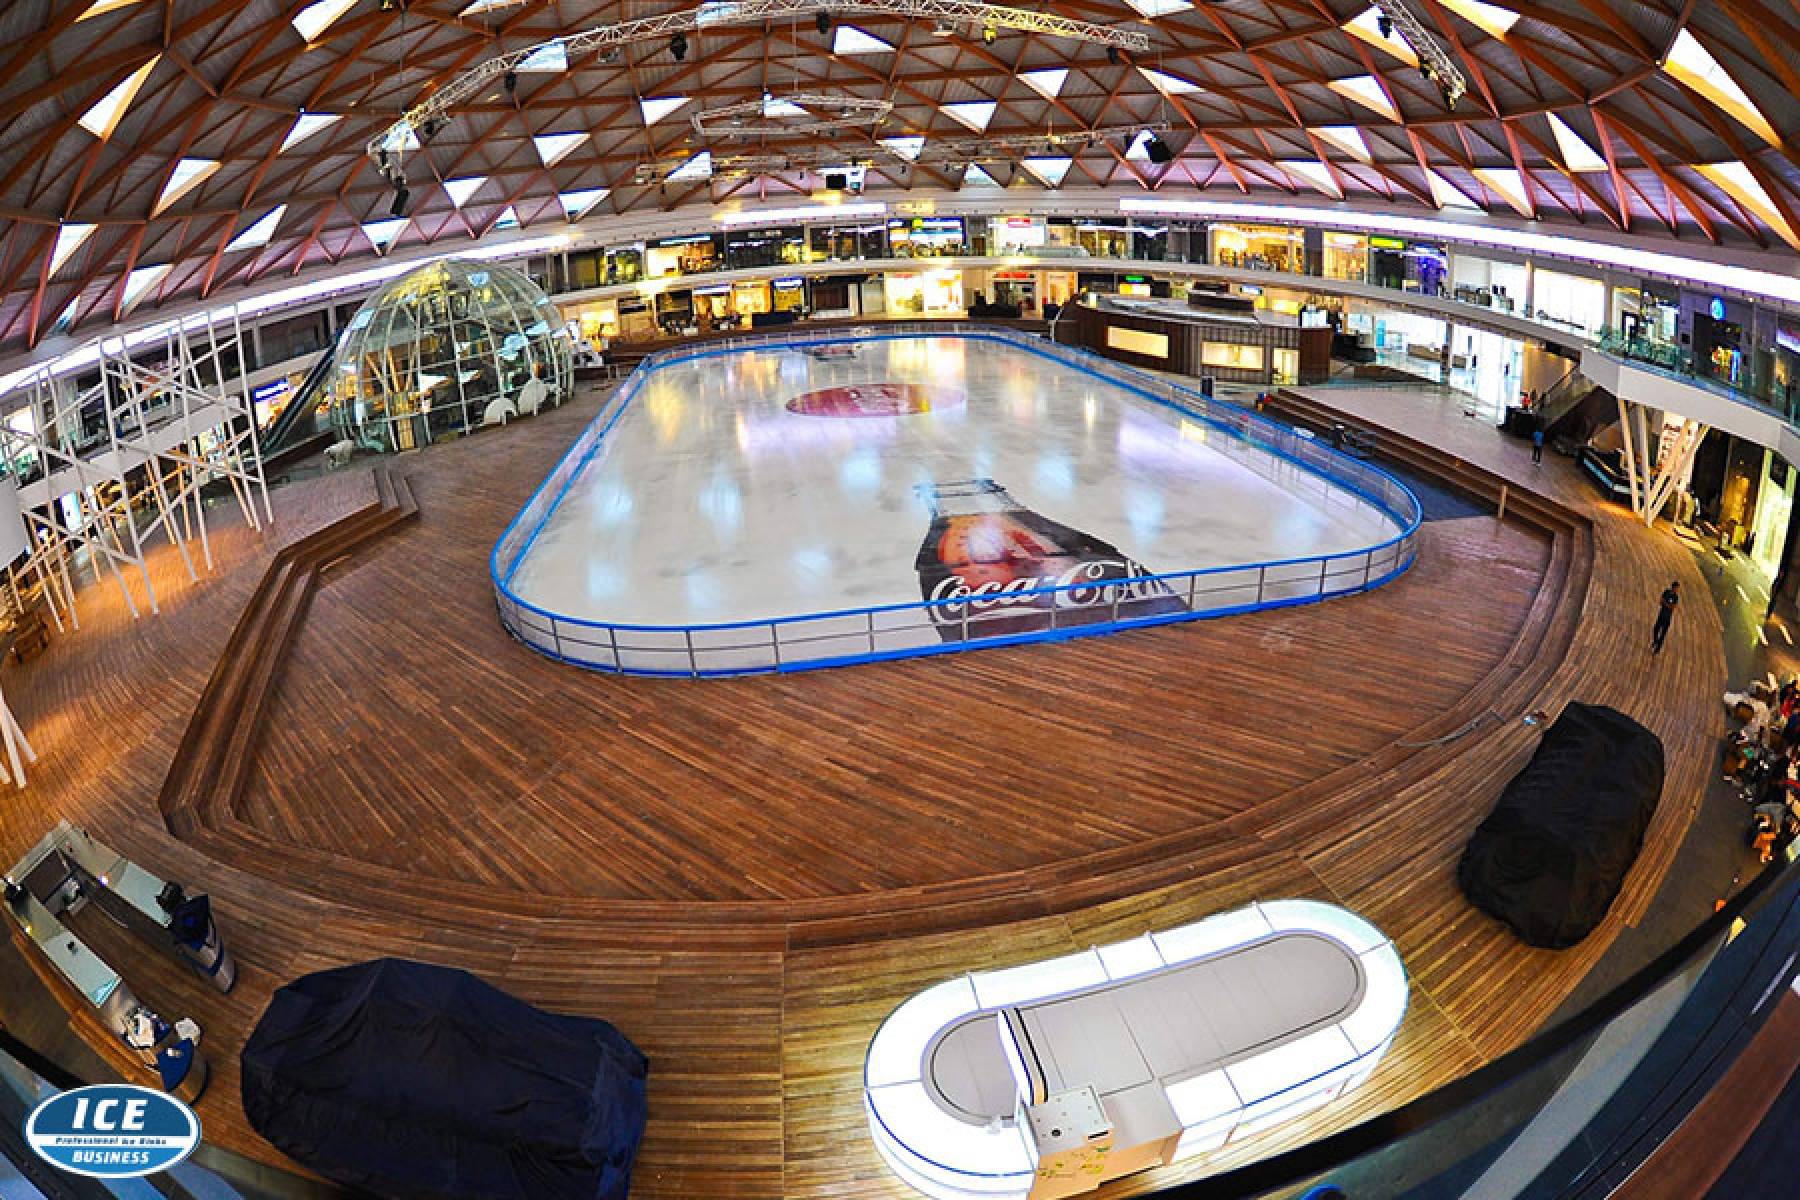
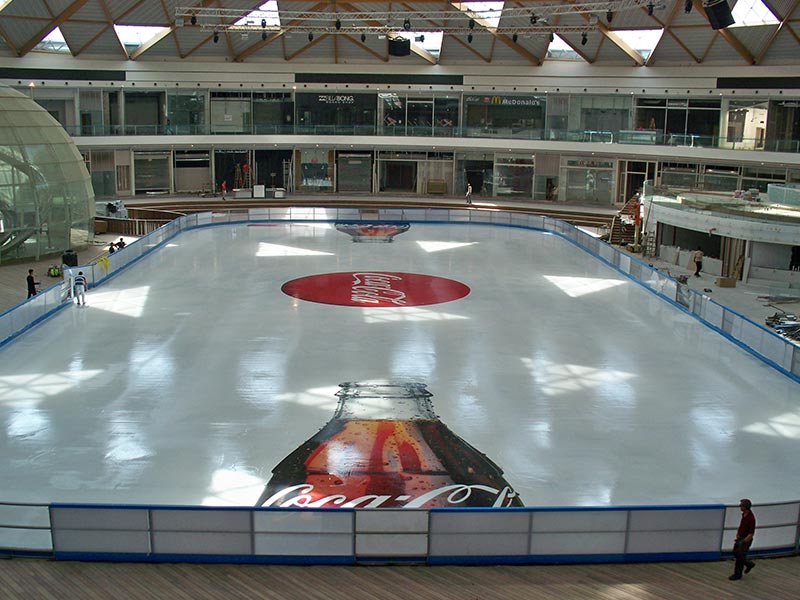
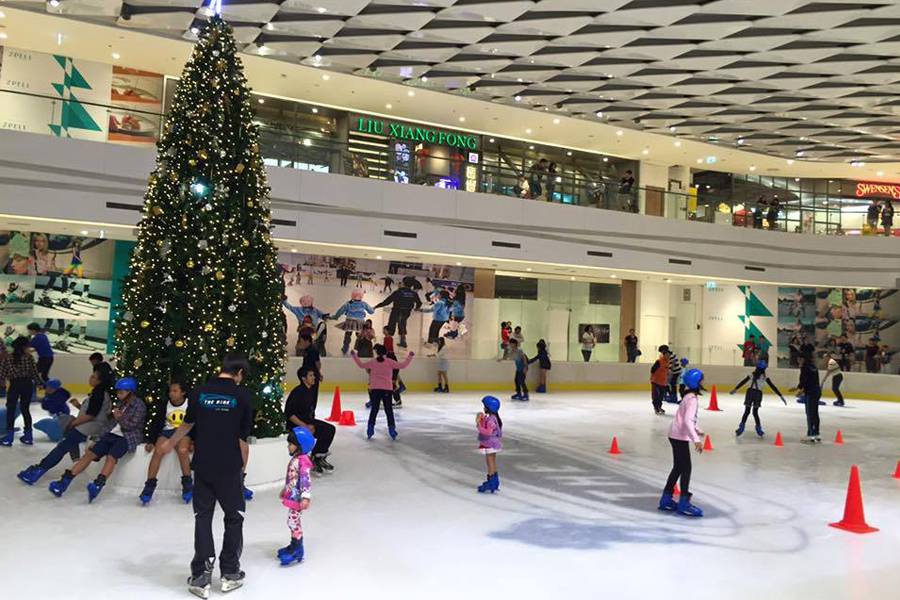
Once the whole equipment is installed, the first layers of ice can be built. This last step needs a lot of attention because the water must be applied carefully and slowly in order to insure the ideal thickness. A thicker ice requires more energy and may have a softer surface and a thinner ice can be dangerous for the skaters. If needed, the ice surface can also be painted (for example with the ice hockey lines) or different textile logos can be places into the ice, but we will cover this particular subject in a future blog post.
Once the ice touches the optimal thickness of 4 - 5 cm, the surface is ready for the skaters!